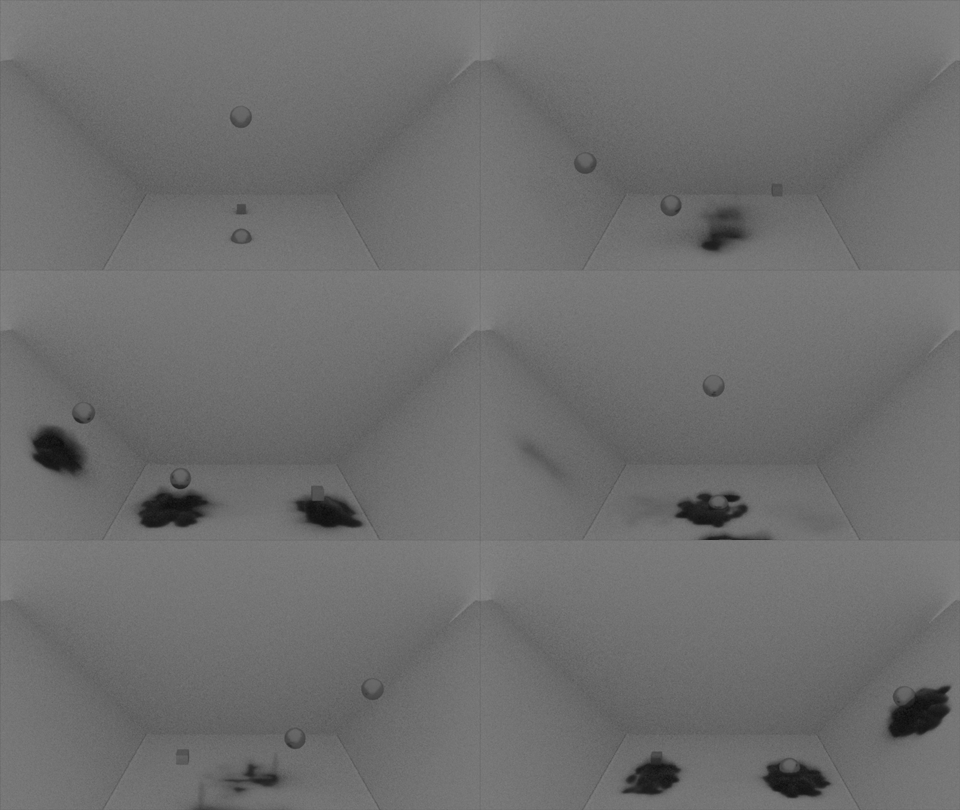
Procedural Dust Tool

What is its use?
The tool creates, through a very simple-to-use interface, all necessary Maya Nodes needed to simulate the creation of dust on collision between two geometries.
Why implement it?
In September 2017 I started working at Barreira's animation studio. The animation short being developed had a sci-fi Western style. Western are known for their desert and dusty environments. It was the first time the studio worked on a short set completely outside. A better realistic feel would be accomplished visually, if the characters were to bring up dust every time they walked around. Manually setting-up a fluid emissor for every contact would be a colossal task for any FX artist. That's why I was given the task of generating a system that would automatically create dust on every contact.
How to use it?
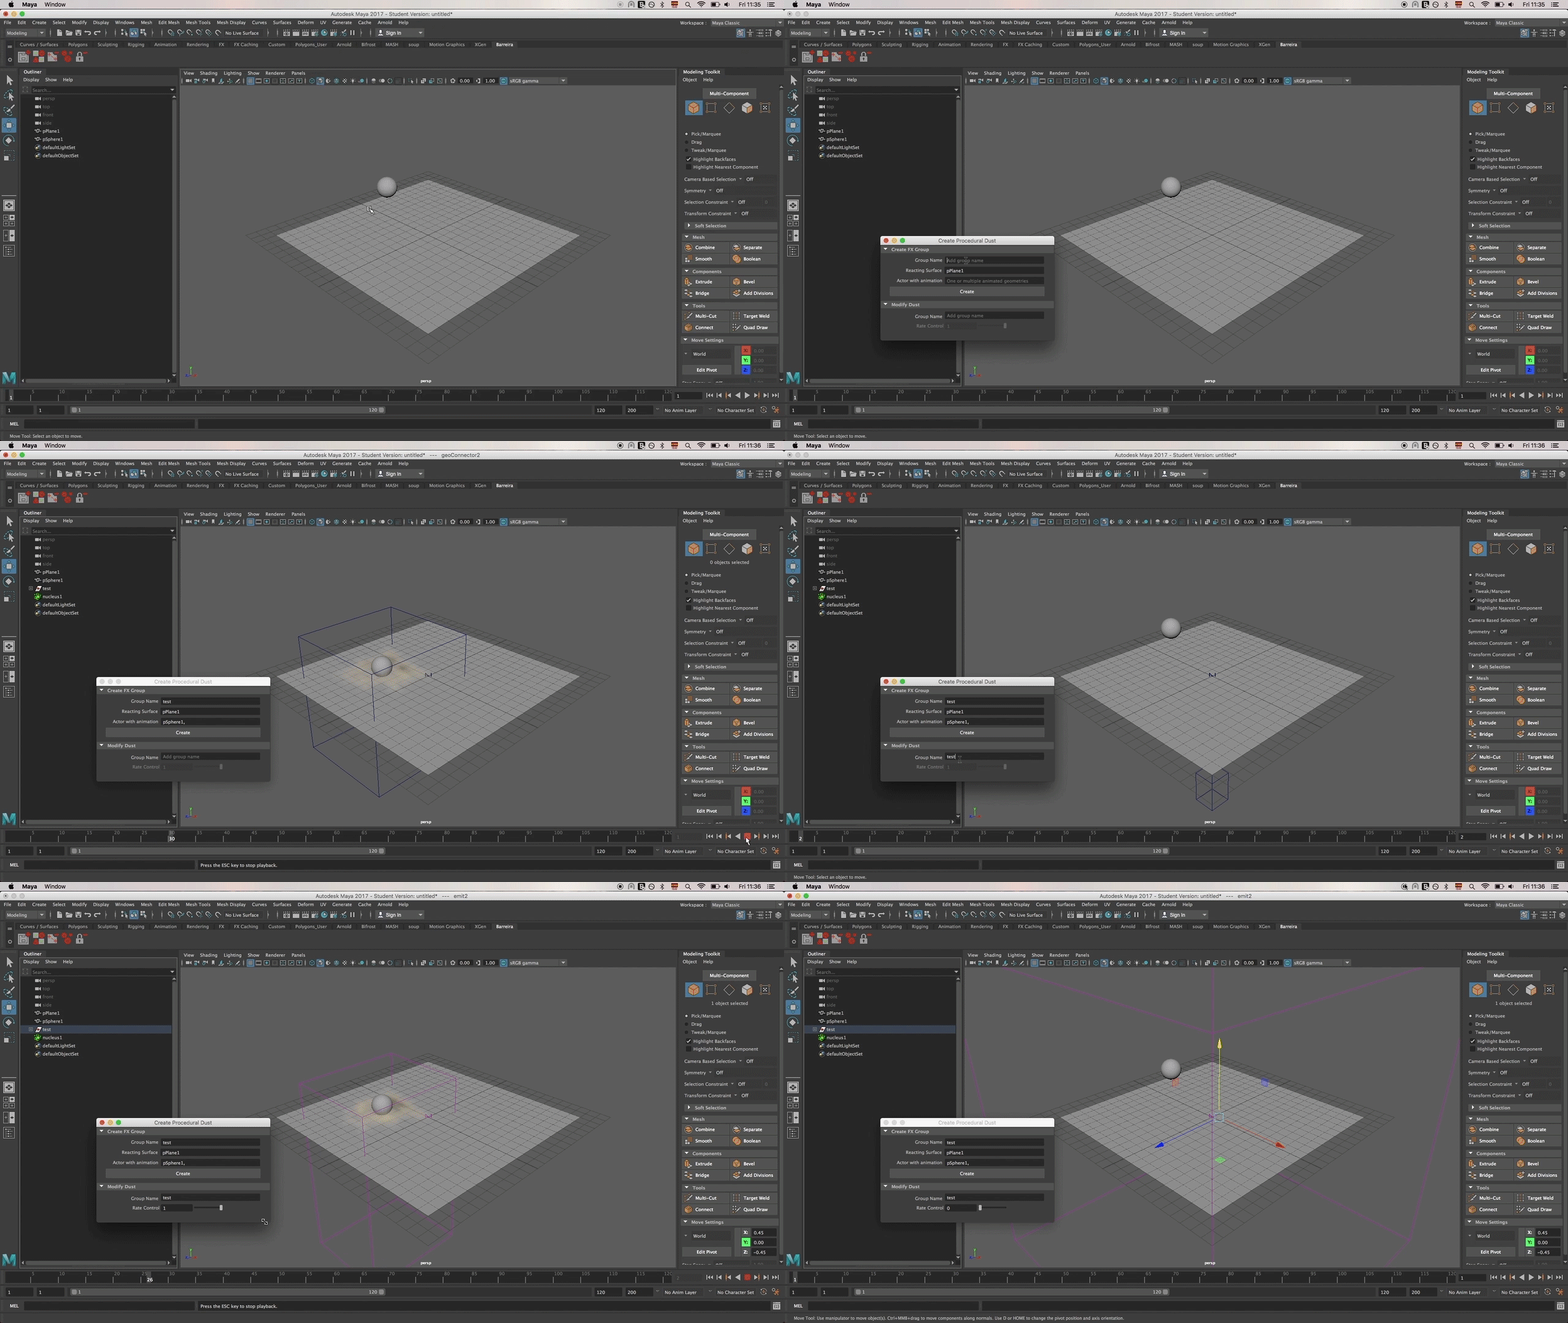
The IU is divided into two frames: the creation section and the manipulation section.
The creation section creates our system. We need three parameters for the creation of the system: the group name, the surface name and the animated geometry name. In order to have a tidy scene, when we create the system, all nodes needed will be parented to a Group Object. This group will be created using the name provided during the creation of the system. This is the first parameter that we need to fill in. The surface name is the name of the object that will be emitting the fluid on contact. It can have any shape but there can only be one per system. The user can middle drag the name of the surface from the Outliner to the corresponding textfield. Finally, the animated geometry name corresponds to all those geometries that we want to react with the surface. Geometries can be selected from the Outliner and middle-dragged onto the corresponding textfield. When dragging multiple objects these will be separated at the textfield by ", " (commaspace). If typing in the names, this ", " must also be included between different objects.
The manipulation section allows us to dynamically alter attributes from every Maya Object used by the system. Currently only the emission rate has been implemented. We can keyframe this rate to control whether the fluid must be emitted on collision or not.

Implementation design
The tool was initially programmed using MEL but was finally translated to Python. For the tool to work we need to make Maya to be able to respond to procedural calculations. This was accomplished by using SOuP nodes that one can purchase here. The tool won't work if the nodes are not present or if the nodes haven't been loaded into Maya.
The tool is divided into two different python files. The first file is the Dust Class file. When we initialize this object we give it a flag value that determines whether the file already exists or if it's a new object. If it's a new object it will create all necessary Maya nodes and set correctly all node connections. If not it will simply initialize the obect with the correct parameters.
The second file is the DustController file. This file controls all UI aspects and function aspects. It creates the UI we want and assigns all UI commands to an internal function controller. This controller detects the command called and determines the correct function to be executed. With the final user in mind we process all data introduced into the textfields to make them look manageable to the user. Each textfield has its own processing: surface name only allows one name, animated geometries allows several objects introduced and the group name from manipulation section allows only one father DAG object.
When we press the "Create" Button what we are really doing is creating objects of the class Dust. We add these objects to a dustObjectList. When using the manipulation section we use the objects stored in this dustObjectList. In case we have closed the UI window (and therefore lost the object list), this process also checks the scene looking for a group object with all the dust attributes. If it finds one it will create a new dust object (only initializing its parameter) with these parameters and add the object to the objectList for simpler use.
Before creating the dust object we check that all the data introduced is the desired data. If it is not we have a series of errors that will explain to the user the reason it is not working. By checking the data before creating the object we avoid having to go back on our traces and delete any Maya Objects we may have created on the way.